Elevating Interiors: The Art and Science of Premium Drywall Finishing & Installation
When you want a truly refined interior, drywall installation and finishing are the invisible heroes behind every flawless wall and ceiling. Whether you’re renovating a single room or coordinating a full custom build, partnering with a premium contracting team determines how smooth, straight, quiet, and durable your spaces feel day to day. In Victoria, homeowners and builders turn to Finest Finish for a meticulous approach to drywall that blends craftsmanship, schedule discipline, and clean job sites.
The role of premium contracting in drywall success
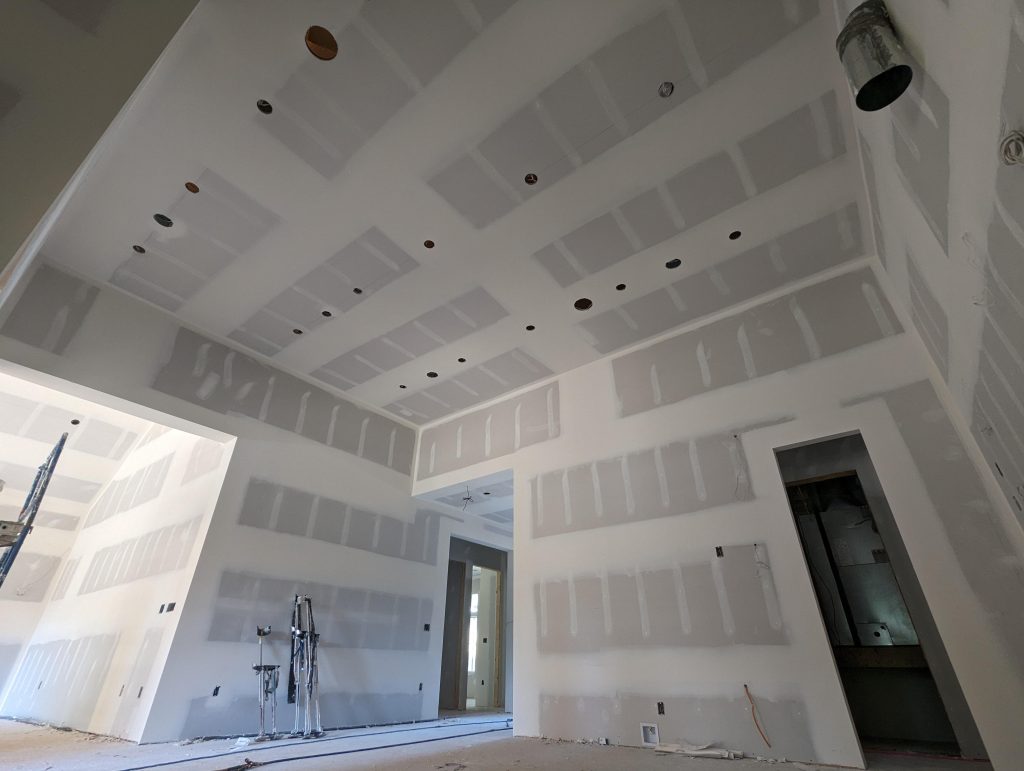
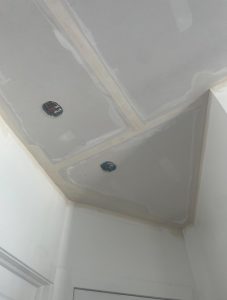
Great outcomes start long before the first panel is hung. A contracting partner focused on premium standards plans the substrate and lighting, coordinates trades to avoid rework, and chooses materials matched to the environment. That attention pays off in straighter corners, crisper reveals, and a paint-ready surface that looks intentionally designed rather than merely acceptable. With the right crew, drywall installation becomes a predictable process: precise layout, fasteners properly set, joints staggered, and penetrations carefully routed. The result is a quieter, sturdier envelope that makes every subsequent trade’s job easier and elevates the final finish.
Why premium drywall finishing matters
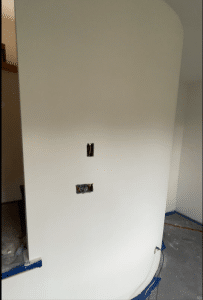
Light reveals everything. In rooms with big windows, skylights, or strong artificial lighting, minor surface variation becomes visible. That’s why high-end projects often specify Level 5 finishing—a full skim coat that produces an ultra-uniform surface. For an excellent overview of when to choose Level 4 vs. Level 5, see National Gypsum’s guide. If you’re aiming for low-sheen paint in relaxed spaces, Level 4 can look fantastic; but if your design includes raking light, high-gloss coatings, or statement fixtures, Level 5 finishing prevents those telltale seams and flashing.
Installation best practices that protect the finish
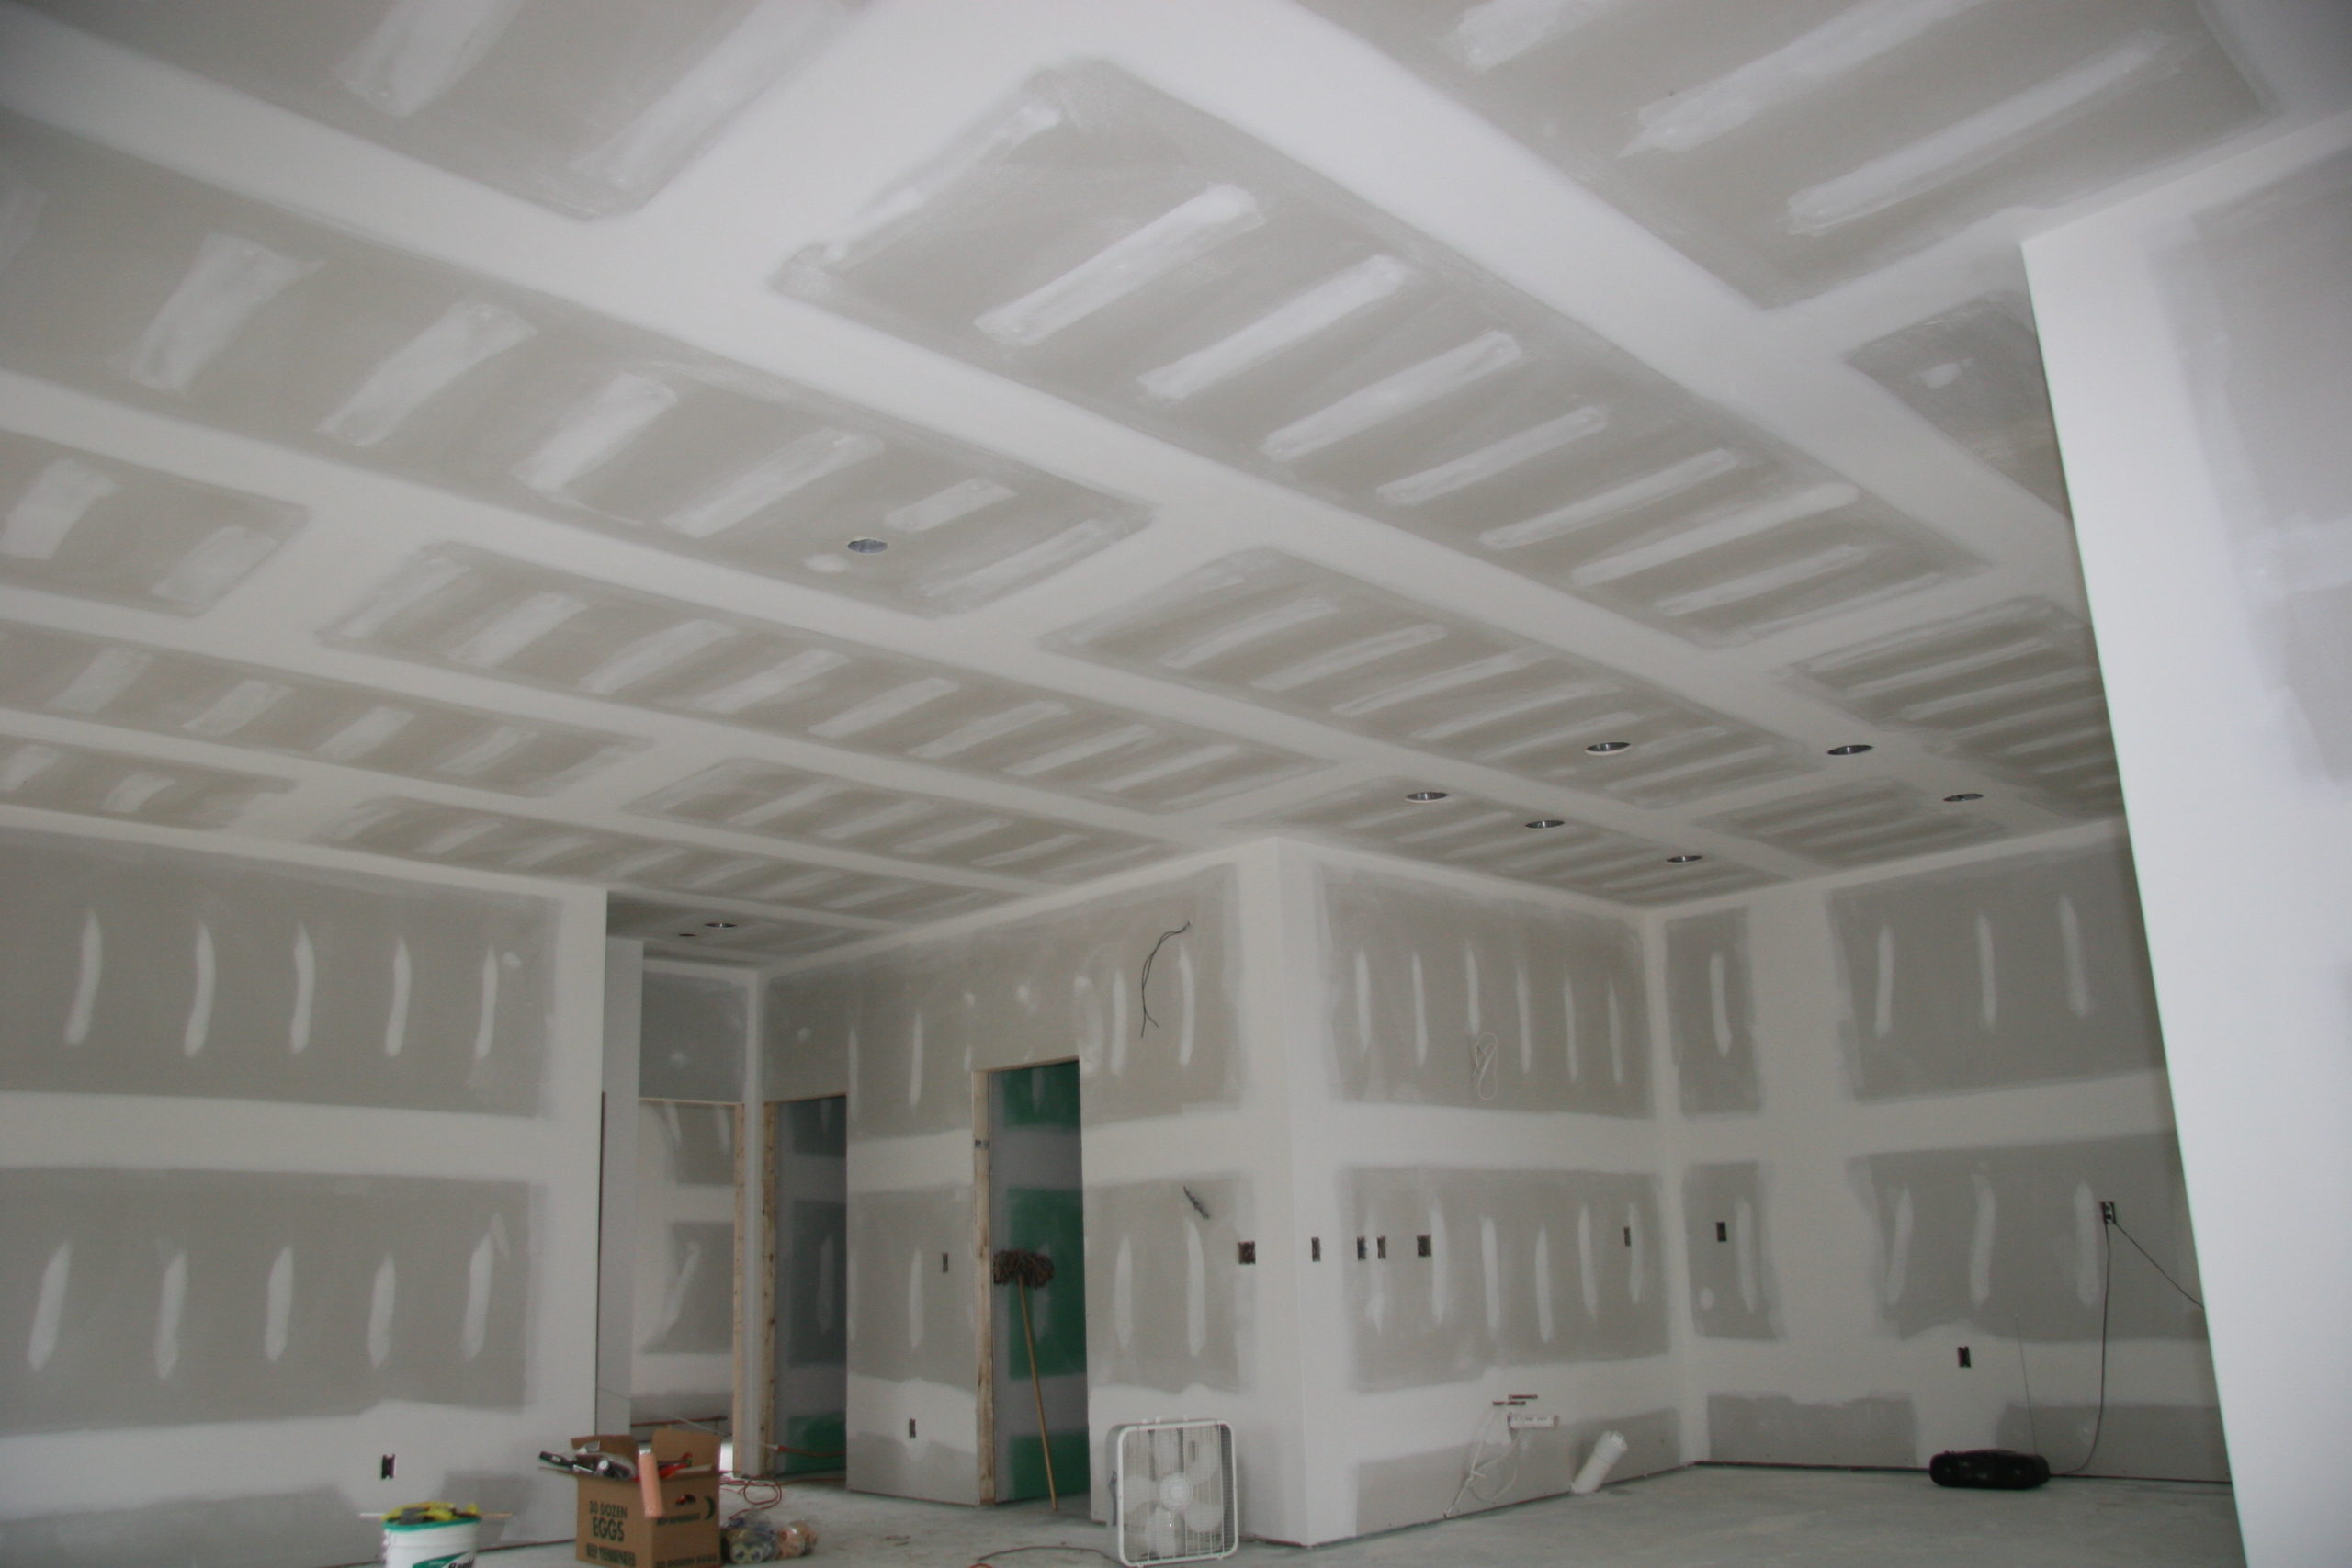
- Planning & layout: Align panel edges with framing, keep butt joints away from critical sightlines, and consider fixture and window placement to minimize shadows. Thoughtful installation makes finishing faster and cleaner.
- Fastening: Drive screws just below the paper without tearing it. Consistent fastening spacing prevents future pops and waviness in the drywall.
- Joints & corners: Stagger seams, choose the right corner beads (metal, vinyl, or paper-faced), and maintain tight tolerances so the finishing team can feather cleanly.
- Environmental control: Maintain temperature and humidity to ensure compounds cure predictably; this is a hallmark of premium contracting.
For a deeper dive into layout, fastening, and compound handling, the USG best-practices overview is a useful reference that aligns with what experienced pros apply on site every day.
The finishing sequence: where premium shows
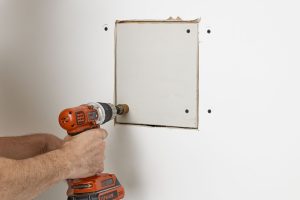
After thoughtful installation, high-end finishing follows a disciplined, multi-pass sequence. First, joints are taped and embedded, fasteners are covered, and accessories like corner beads and reveals are set true. Additional coats widen and feather each joint to disappear under paint. A full skim coat for Level 5—applied with knives, trowels, or skimming blades—creates a continuous, uniform surface across the entire field of the board. Final sanding refines the surface to a consistent texture that accepts primer evenly. The aim is not simply to hide seams; it’s to create a substrate that allows paint to look its absolute best, which is the essence of a premium result.
Materials and tools that raise the bar
Tooling matters. Automatic tapers, flat boxes, and skimming blades improve uniformity and speed. Lightweight finishing compounds sand cleanly and reduce fatigue, while setting-type products help maintain momentum on schedule-driven projects. Paper-faced corner beads deliver sharp, durable edges and are forgiving under high scrutiny lighting. Dust-extraction sanders keep job sites healthier and cut cleanup time—another sign of professional contracting. Coupled with methodical lighting checks during the work, these choices build toward a finish that reads as intentionally crafted rather than patched together.
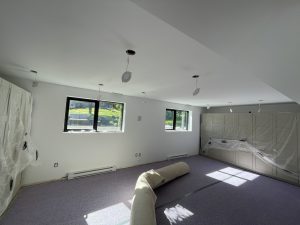
Paint prep: the final 10% that delivers 90% of the look
Even a perfect finishing job can be undermined by rushed primer or poor lighting during touch-ups. A uniform, high-quality primer seals the surface and reveals any last micro-variations to address before topcoat. Caulking trim-to-wall transitions, vacuuming surfaces, and inspecting at multiple times of day make the difference in how the final color reads. That last round of care is what homeowners remember—and what defines a truly premium experience.
Cost, value, and where premium pays off
Level 5 finishing costs more in labor and materials than Level 4, and a meticulous installation plan takes coordination. But in spaces with statement lighting or minimalist design, the added polish is visible and lasting. Durable corners, fewer callbacks, and a paint film that lays down beautifully all contribute to lifecycle value. When you factor in comfort—reduced sound transmission, fewer surface defects, and the daily pleasure of clean sightlines—the premium path often becomes the pragmatic one.
Local expertise: Finest Finish
If you’re seeking a team that treats walls and ceilings as architectural features, not just surfaces, Finest Finish’s perspective on luxury drywall finishes is a great primer on expectations, sequencing, and quality control. Their approach combines exacting installation, meticulous finishing, and client-first contracting to deliver consistently premium results across renovations, additions, and new builds.
FAQs
Do I always need Level 5? Not always. In moderate lighting with matte paint, Level 4 can look excellent. Choose Level 5 in rooms with raking light, gloss paint, or when you want the most uniform result.
Which compound should I use? Lightweight finishing mud is ideal for wide feathering and easy sanding; setting-type products help with schedule but require timing. Your contractor will match materials to the room and timeline.
What’s the biggest mistake to avoid? Rushing substrate prep. Straight framing and smart seam placement during installation save time and yield a cleaner finishing outcome every time.
Final thoughts
The path to a showpiece wall or ceiling is straightforward: thoughtful planning, disciplined installation, and exacting finishing—all delivered by a contracting team that treats quality as non-negotiable. When your standards are high, a premium approach to drywall is not a luxury; it’s the most reliable way to achieve the design you envisioned. Contact us today.