The True Cost of DIY Texture Removal: Why Victoria Homeowners Trust the Professionals
Let’s be completely honest for a moment: nobody really likes textured ceilings anymore. Whether you call it popcorn, stipple, or acoustic texture, that bumpy, shadow-casting finish is a relic of the past. If you own a home in Victoria, BC—especially in established neighborhoods like Oak Bay, Fairfield, or Gordon Head—there is a good chance you have looked up and thought, “I should just scrape that off this weekend.”
We have all seen the viral home improvement videos and quick time-lapse tutorials. A homeowner sprays some water on the ceiling, takes a wide putty knife, and effortlessly peels away ribbons of texture, revealing perfectly smooth drywall underneath. It looks incredibly satisfying. It looks fast. Most dangerously of all, it looks incredibly easy.
But as a residential drywall and painting contractor, we at Finest Finish Painting & Drywall can tell you firsthand: those videos rarely show you the aftermath. They don’t show the permanent damage to the drywall paper, the agonizing hours spent applying a skim coat overhead, or the fine, powdery dust that manages to infiltrate every single room of your house.
Here is the reality of texture removal, why the DIY route (or hiring an unverified, non-professional handyman) usually ends up costing you more in the long run, and why bringing in a professional drywall contractor is the only way to guarantee a truly flawless, modern ceiling.
The Asbestos Elephant in the Room
Before we even talk about the aesthetics of drywall, we have to talk about health and safety. Many homes in Greater Victoria were built or renovated during an era when asbestos was a standard additive in building materials, including ceiling texture and drywall joint compound.
If your home was built before the early 1990s, taking a scraper to your ceiling without prior testing is a massive health hazard. When disturbed, asbestos fibers become airborne and can easily be inhaled. A professional drywall contractor understands the stringent regulations and safety protocols required in British Columbia. We know when testing is mandatory, how to interpret the results, and how to proceed safely. An amateur or a homeowner looking to save a few dollars might skip this step, inadvertently contaminating their entire living space. The cost of emergency asbestos abatement and the risk to your family’s respiratory health is simply not worth the gamble of a DIY project.
The Myth of the “Easy Scrape”
Let’s assume your ceiling is completely asbestos-free and you decide to tackle the texture removal yourself. You lay down some plastic, fill a garden sprayer with warm water, and get to work.
Here is where the first major problem arises: texture is often painted over. If previous homeowners applied a coat of standard ceiling paint or an oil-based primer over that popcorn texture, water will not penetrate it. Suddenly, you aren’t scraping off soft, wet texture; you are trying to chisel away rock-hard, painted compound.
In the struggle to remove it, inexperienced DIYers inevitably use too much force. The scraper catches, and instead of just removing the texture, you accidentally gouge deeply into the drywall below. You tear the delicate paper face of the drywall, exposing the gypsum core. Every single time you tear that paper, you are creating a massive repair job for yourself later. What started as a simple texture removal project has now turned into extensive drywall repair and patching. A professional drywall contractor has the touch, the specialized tools, and the experience to remove texture while preserving the structural integrity of the drywall underneath.
The Nightmare of Drywall Dust (And How We Avoid It)
If you have ever done even a small amount of drywall sanding, you know about the dust. Drywall dust is insidious. It is so fine that standard shop vacuums simply blow it right out the exhaust port, sending a white cloud through your home. It gets into your HVAC system, settling on your furniture, your clothes, and your electronics for months after the job is done.
When DIYers or non-professionals handle texture removal and the subsequent sanding, dust control is usually an afterthought—maybe a few plastic drop cloths taped to a doorway.
At Finest Finish, we understand that we are working in your home, not a construction site. That is why professional contractors invest heavily in advanced, specialized equipment. By utilizing premium tools like the Mirka dustless sanding system, we extract the drywall dust directly at the source before it ever has a chance to become airborne. This high-efficiency, vacuum-assisted technology allows us to sand ceilings to an incredibly smooth finish while keeping your home exceptionally clean. This level of professional cleanliness is something that a DIY approach simply cannot replicate, saving you hours—if not days—of deep cleaning.
The True Challenge: The Art of the Skim Coat
Here is the biggest secret in the drywall industry: removing the texture is only 20% of the job. The remaining 80% is what happens after the ceiling is bare.
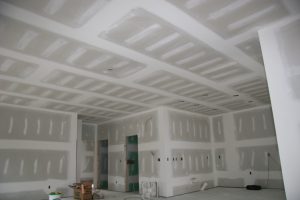
When you scrape away texture, the drywall underneath is rarely ready for paint. You will find visible drywall tape, uneven joints, recessed screws, and minor imperfections. Popcorn ceilings were originally popularized because they were a cheap, fast way for builders to hide terrible drywall finishing. Without the texture to camouflage those flaws, your ceiling will look like a patchwork quilt.
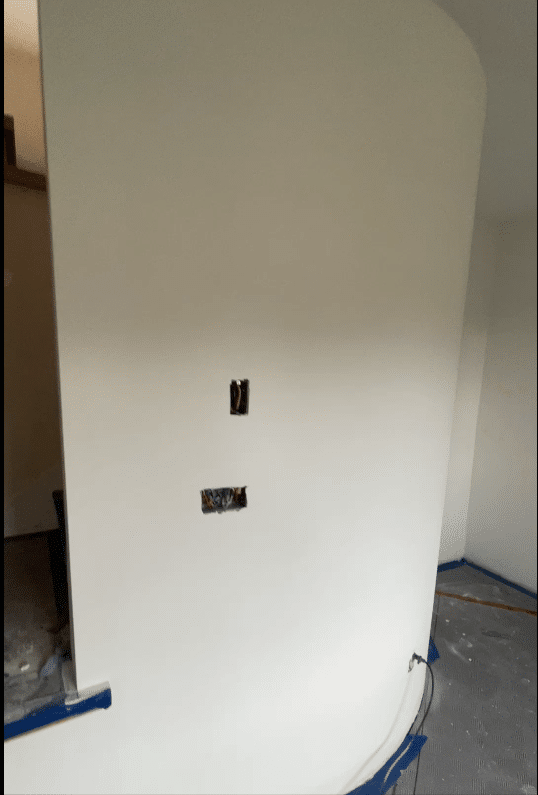
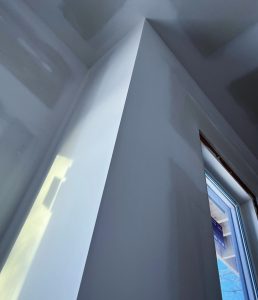
To achieve that highly sought-after, modern, perfectly flat ceiling, the entire surface must be skim-coated. Skimming is the meticulous process of applying a thin, consistent layer of drywall joint compound over the entire ceiling to create a Level 5 finish.
Applying a skim coat overhead is exhausting, back-breaking work. But more importantly, it requires an immense amount of skill and muscle memory. The mud must be mixed to the perfect consistency. The trowel must be held at the exact right angle. Apply too much pressure, and you scrape the mud right back off. Apply too little, and you leave thick, uneven ridges that will require hours of agonizing sanding.
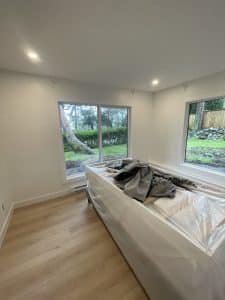
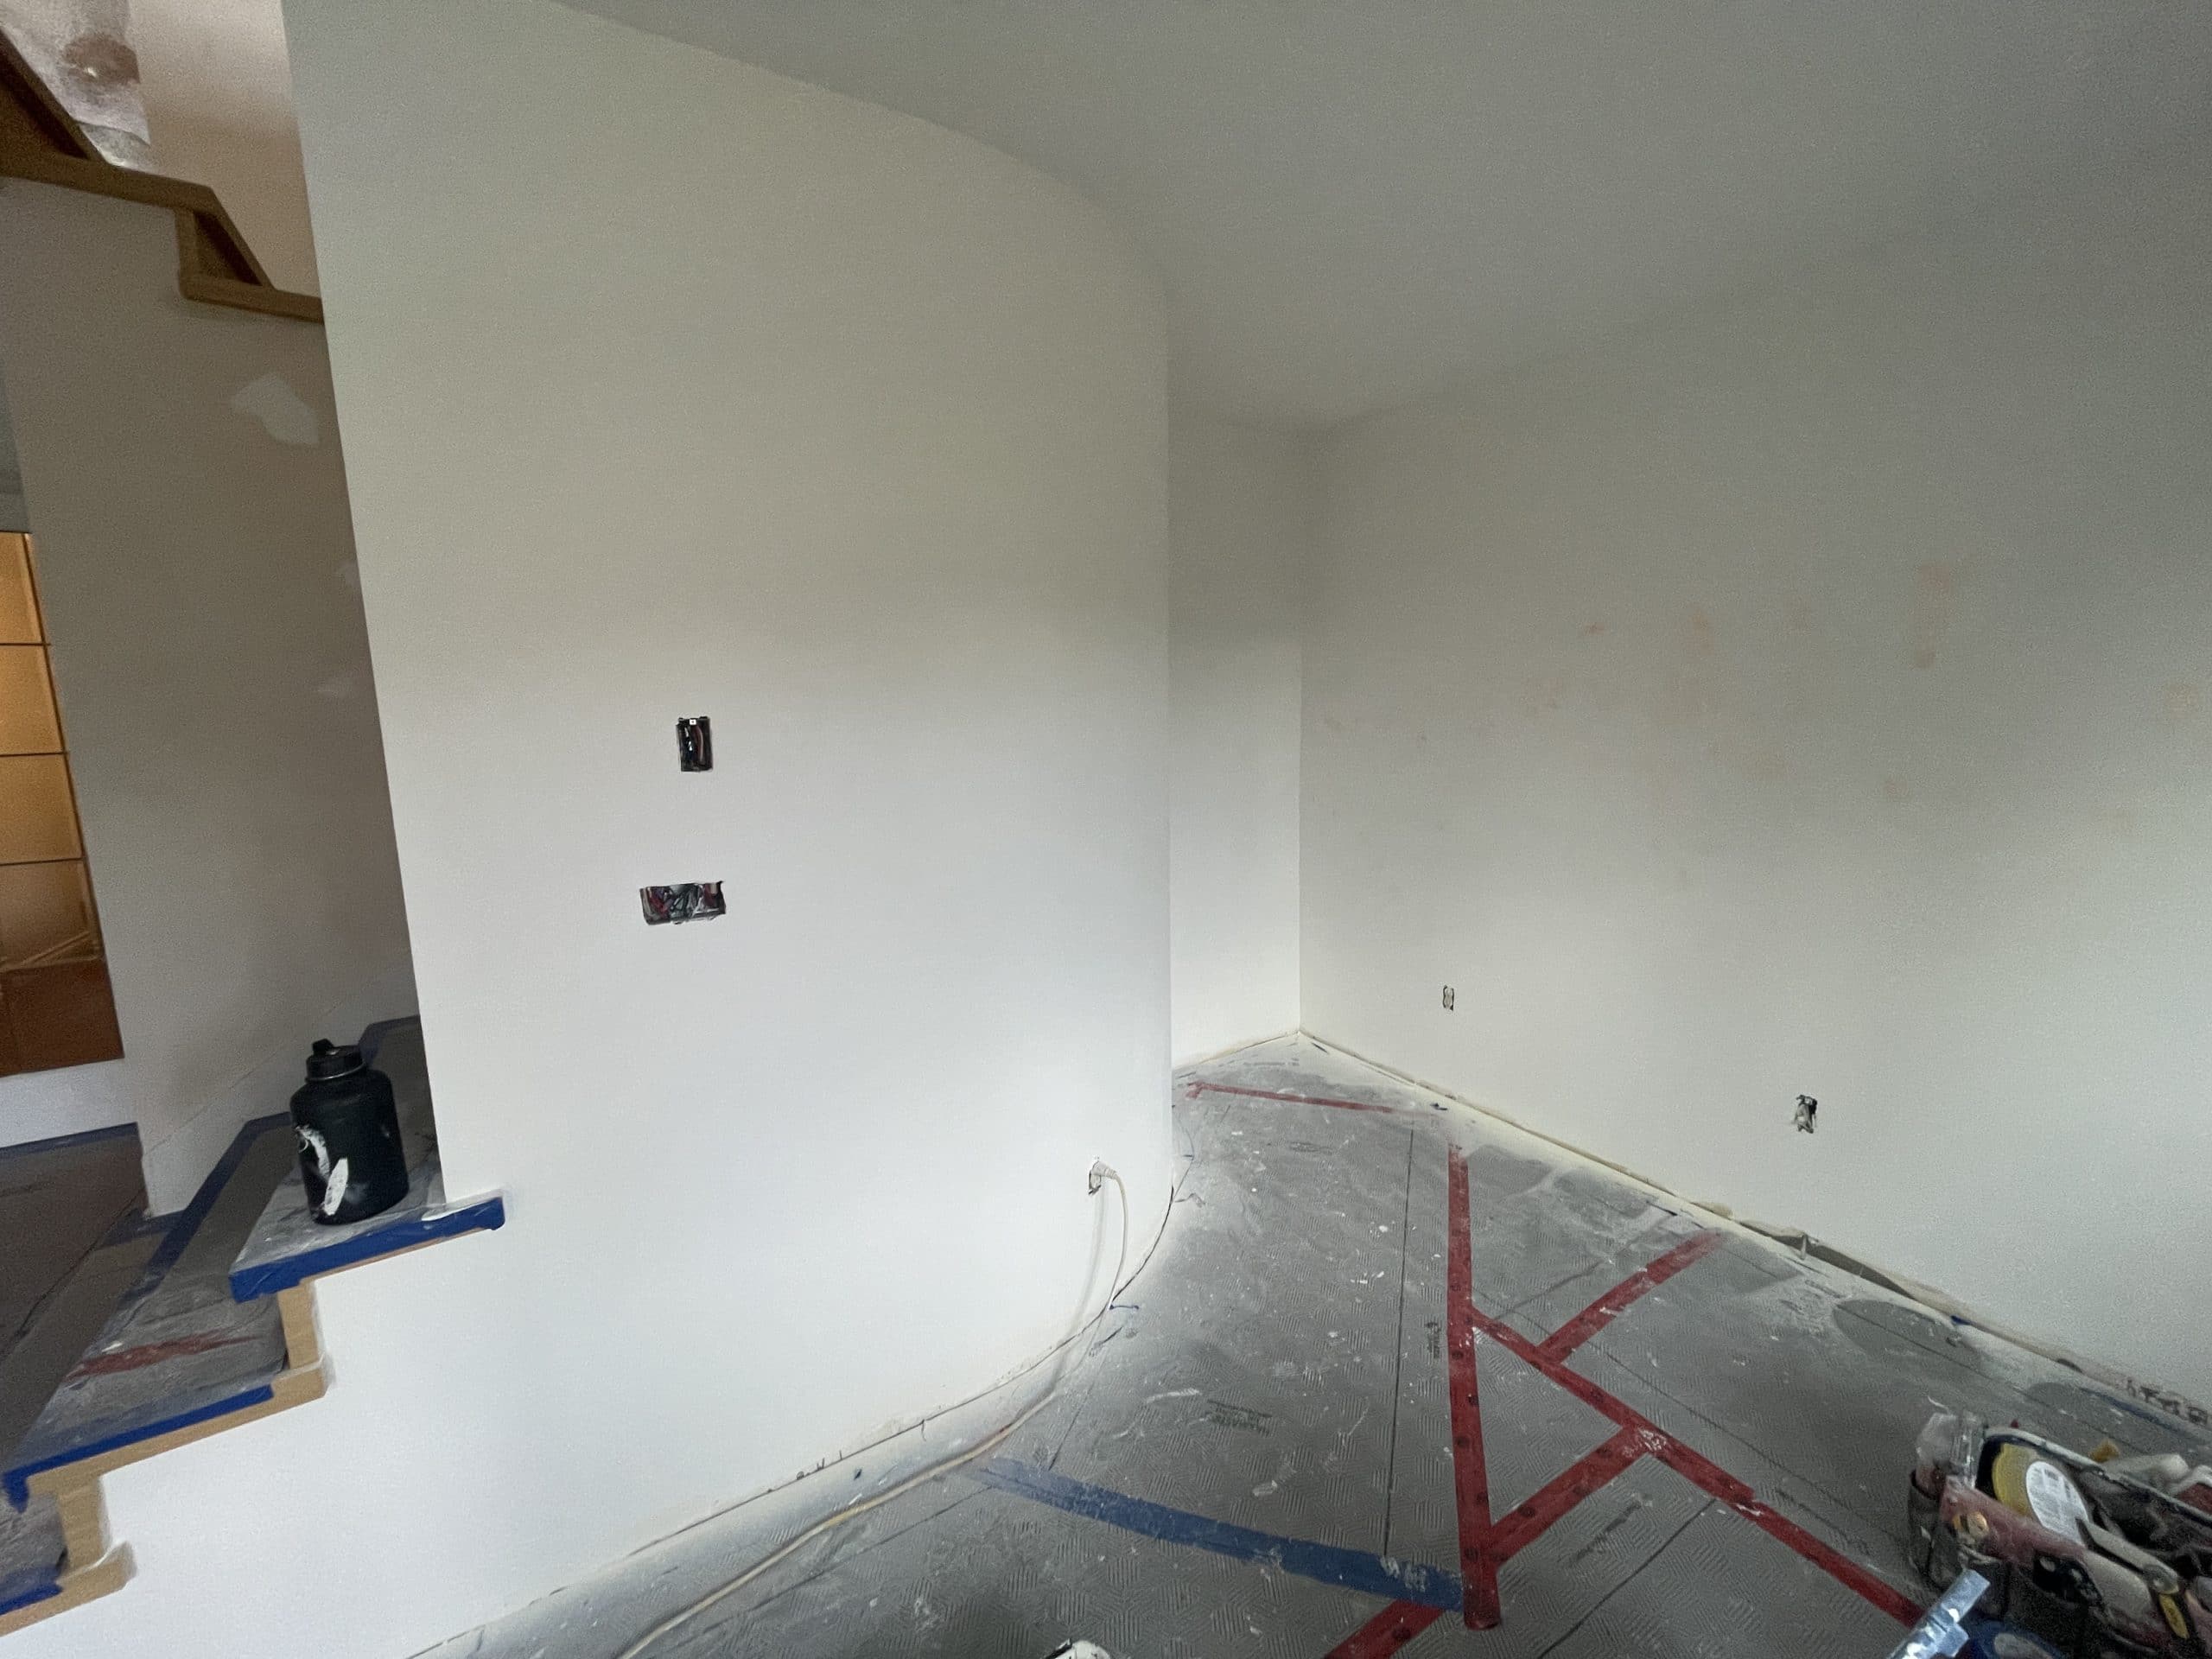
When non-professionals attempt skimming, the results are almost universally disappointing. Once the ceiling is primed and painted, and the natural light from your windows hits it, every single trowel mark, ridge, and uneven patch will cast a shadow. A professional drywaller has spent years perfecting the art of the skim coat, ensuring that when the final coat of paint goes on, the ceiling is flawlessly smooth and completely uniform.
The Hidden Costs: Why “Cheap” Ends Up Being Expensive
We frequently receive calls from homeowners in Victoria who started a DIY texture removal project on a Friday, only to find themselves standing in a disaster zone by Sunday afternoon. They have ruined the drywall paper, applied a lumpy skim coat, and are completely exhausted.
This is where the true cost of DIY or hiring an uncertified handyman reveals itself.
If you hire a non-professional who quotes you a suspiciously low price, they are likely cutting corners. They might skip the skim coat entirely, opting to just aggressively sand the damaged drywall and paint over it. They might use cheap, heavy all-purpose mud for skimming instead of a specialized topping compound, leading to a finish that cracks or sags over time.
When this happens, you end up having to call a professional drywall contractor to fix the mistakes. We now have to fix the gouges, sand down the terrible skim coat, and essentially start the process from scratch. The most expensive drywall job is the one you have to pay for twice.
When you add up the cost of purchasing your own tools (scrapers, mud pans, trowels, specialized sanders), buying the materials (compound, tape, primer, ceiling paint), the value of your own lost weekends, and the potential cost of repairing DIY mistakes, hiring a professional from the start is surprisingly cost-effective.
Trust Finest Finish for Your Texture Removal Needs
Your home is your largest investment, and its interior finish should reflect high-quality craftsmanship. Whether you are updating a single room in Fairfield or modernizing a full residential property in Victoria, BC, texture removal is a job best left to the experts.
At Finest Finish Painting & Drywall, we specialize in comprehensive drywall and painting services. We bring the right tools, the right materials, and years of hands-on expertise to every single project. From safely and efficiently removing outdated texture, to applying a flawless, expertly troweled skim coat, to the final coat of premium paint, we handle every step of the process. We respect your home, utilizing advanced dustless sanding technology to ensure the only thing we leave behind is a beautiful, modernized space.
Don’t let a weekend DIY experiment turn into a costly renovation nightmare. If you are ready to transform your space and say goodbye to those outdated textured ceilings for good, contact Finest Finish Painting & Drywall today for a professional consultation. Let us show you what a truly flat, flawless ceiling can do for your home.