Drywall Installation in Gordon Head: A Complete Guide for Saanich Homeowners
Professional drywall installation in Gordon Head involves much more than attaching sheets of gypsum board to wall studs. Proper framing preparation, board layout, fastening, taping, finishing, sanding and priming all affect how straight, durable and paint-ready your walls will be.
For homeowners in Gordon Head, Mount Tolmie and the surrounding Saanich area, drywall projects can range from finishing a newly framed basement to renovating an older family home or preparing a secondary suite for tenants. Each project has its own requirements, and the quality of the drywall installation can have a major impact on the finished appearance of the entire renovation.
At Finest Finish Painting and Drywall, we approach drywall installation as a complete preparation and finishing process—not simply a matter of hanging board. Our goal is to provide smooth, consistent surfaces that are ready for primer and paint while protecting the surrounding areas of your home throughout the work.
What Does Professional Drywall Installation Involve?
A quality drywall installation typically includes several stages:
Inspecting and preparing the framing
Checking wall cavities before they are enclosed
Selecting appropriate drywall for each area
Measuring and planning the board layout
Installing and fastening the drywall
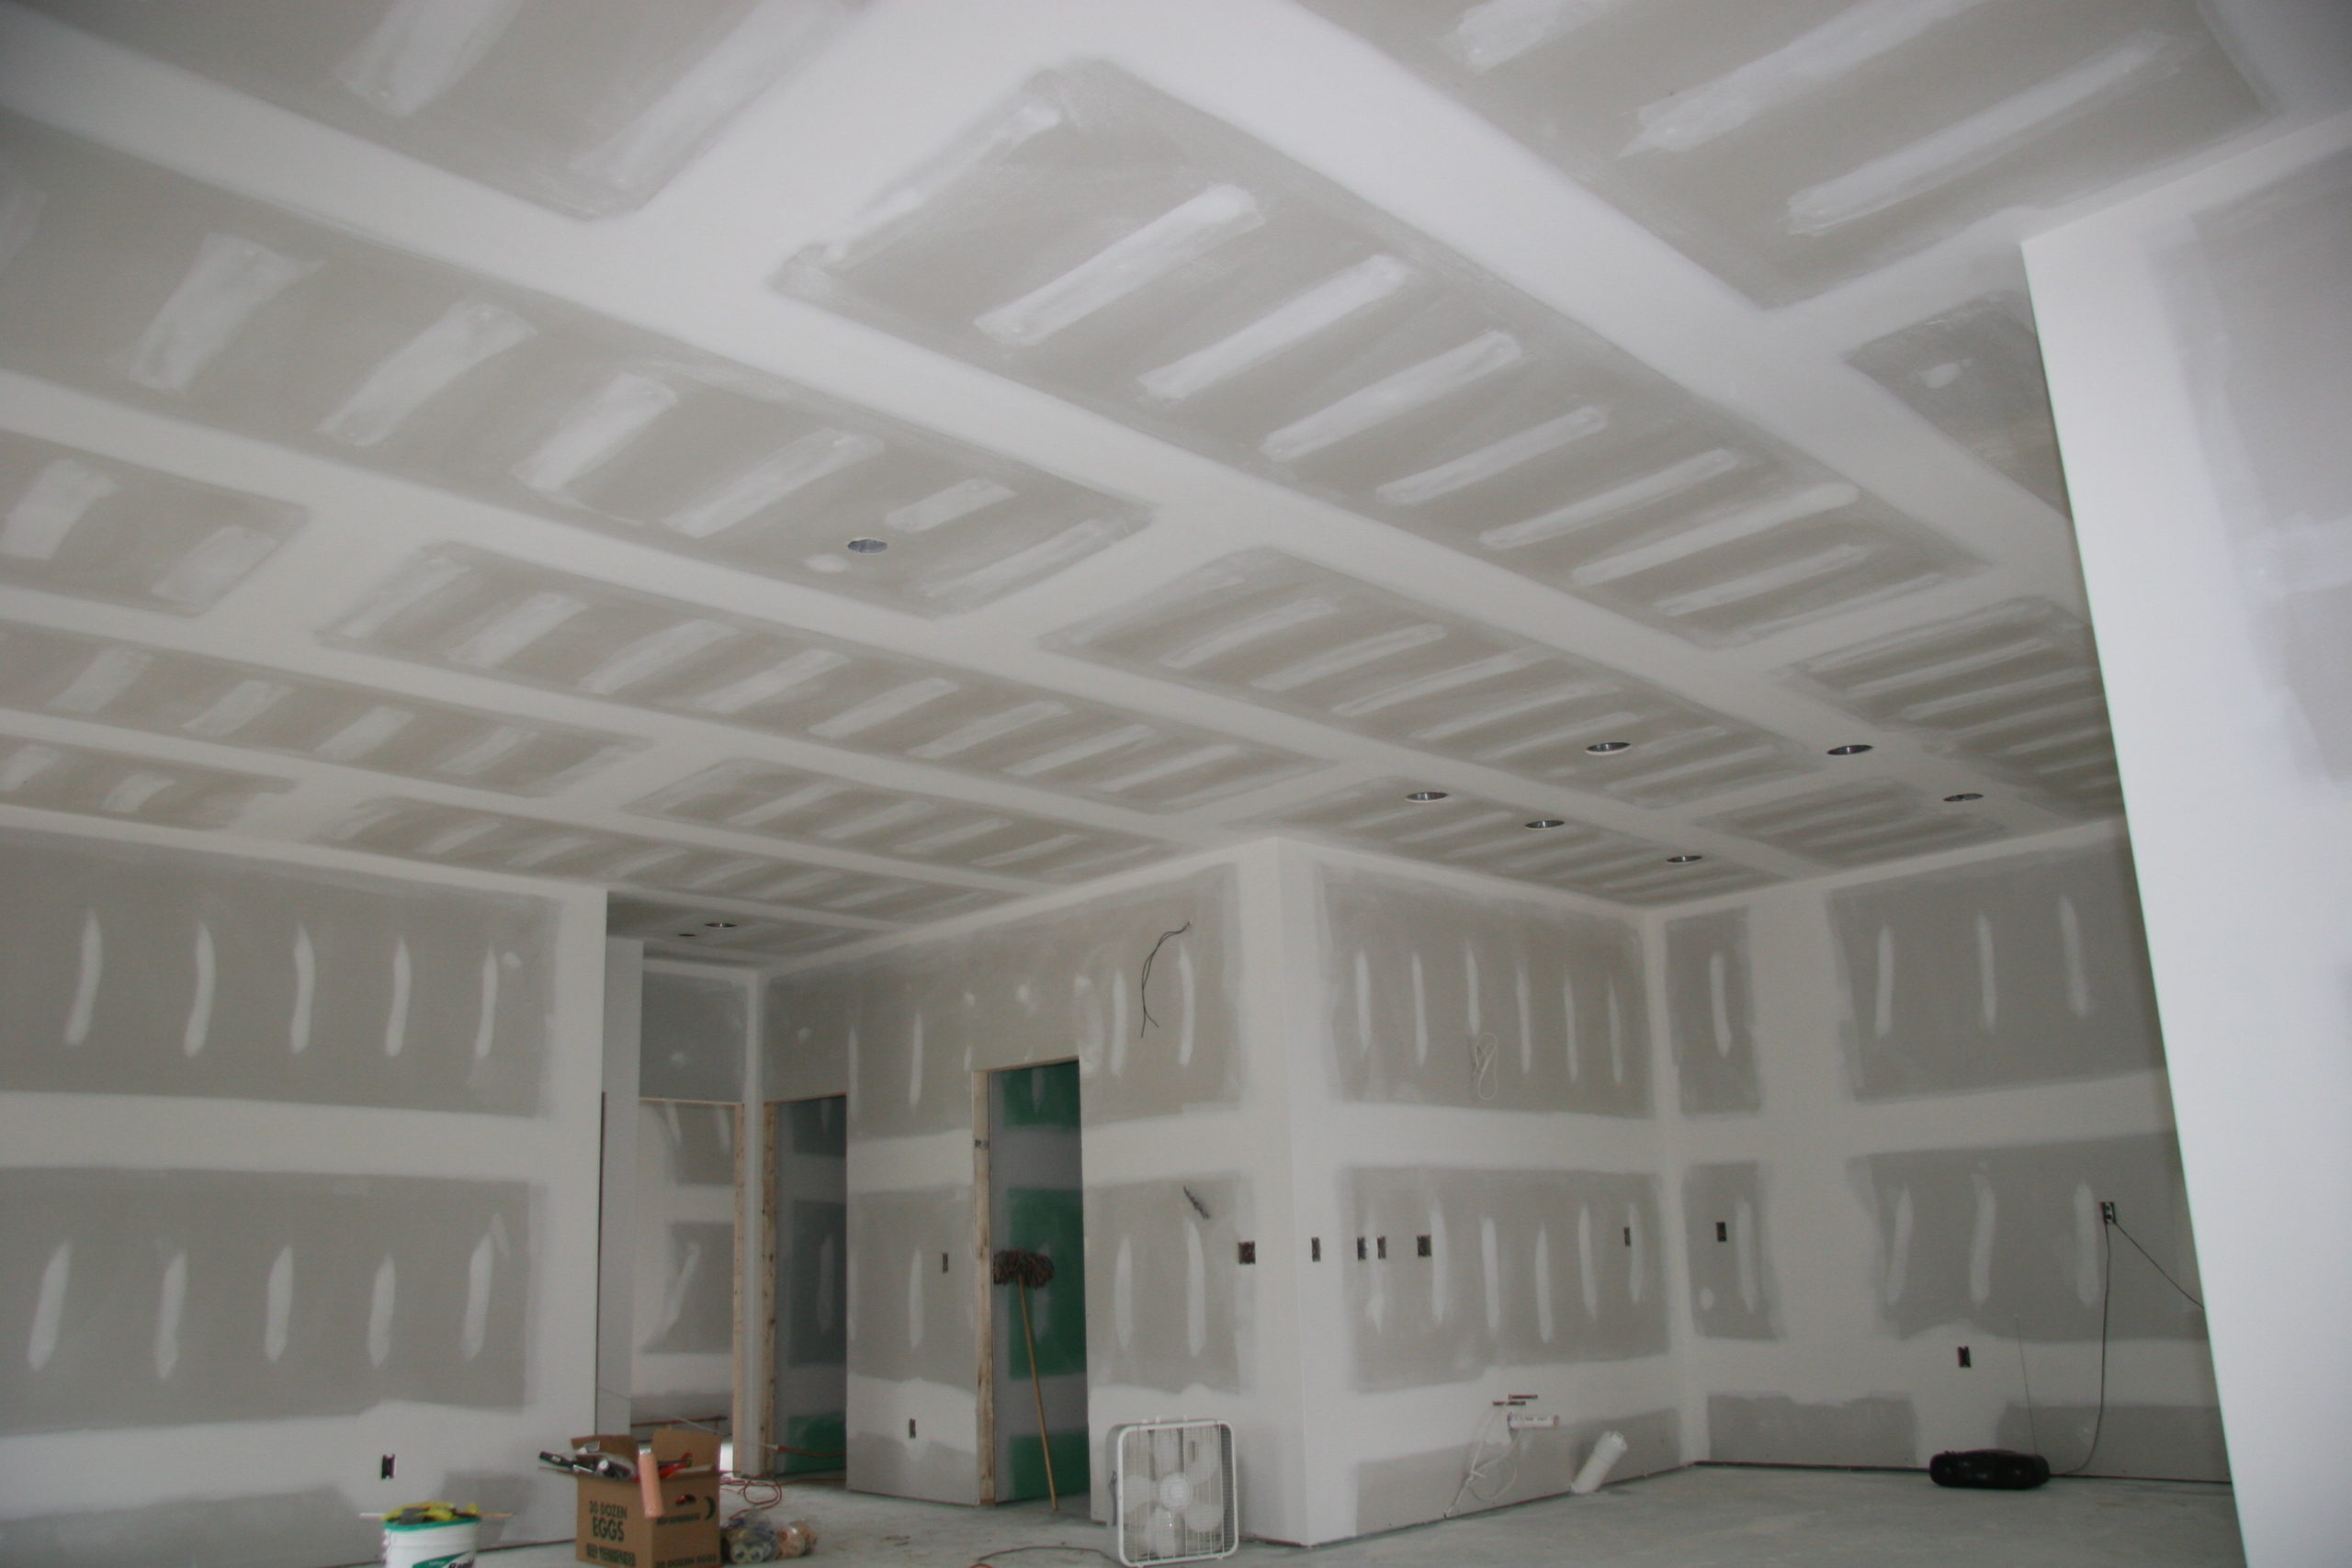
Taping and finishing the joints
Installing and finishing corners
Sanding and inspecting the finished surfaces
Priming the drywall
Completing a final quality inspection
Skipping or rushing any of these stages can create problems that become much more visible after the walls are painted.
1. Preparing the Framing Before Drywall Installation
One of the most important parts of drywall installation happens before the first sheet goes on the wall.
Drywall follows the shape of the framing underneath it. If studs are bowed, twisted or uneven, those imperfections can become visible after finishing and painting.
This can be particularly important when renovating older homes in Gordon Head and other established Saanich neighbourhoods. Homes that have been standing for decades may have framing that is no longer perfectly straight.
Before installation, we inspect the surfaces and identify areas that may require adjustment. Depending on the situation, preparation can include:
Checking walls and ceilings for straightness
Identifying bowed or twisted studs
Adjusting framing where practical
Adding framing support where needed
Checking openings around doors and windows
Confirming that electrical and plumbing work is complete
Verifying that insulation and required vapour-control measures are properly addressed before the walls are closed
The objective is straightforward: create the best possible surface underneath the drywall before finishing begins.
2. Protecting Your Home During Drywall Work
Drywall installation and finishing can generate considerable dust and debris. Good site preparation is therefore part of a professional drywall job.
Before work begins, we take steps to protect floors, furniture and finished areas that are not part of the renovation.
Depending on the project, this may include:
Floor and surface protection
Dust barriers
Isolation of the work area
Protection around doorways and finished surfaces
Careful cleanup throughout the project
Dust extraction during sanding
Controlling the work area is especially important when drywall work is being completed in an occupied home.
3. Choosing the Right Drywall for Each Area
Not every room requires exactly the same drywall product or assembly.
The appropriate materials depend on the location, intended use and requirements of the project.
Standard drywall
Standard gypsum board is commonly used for typical interior walls and ceilings in dry areas.
Moisture-resistant drywall
Areas exposed to elevated moisture may require a moisture-resistant gypsum product appropriate for the application.
The right product depends on whether the wall is simply in a humid room or is part of a shower or tile installation, where a purpose-designed backer system may be more appropriate.
Fire-rated drywall
Some walls and ceilings require fire-resistant assemblies. For example, certain secondary-suite and multi-unit applications may require a specified fire separation using 5/8-inch Type X gypsum board or another approved assembly.
Because fire separation requirements depend on the specific building and assembly, homeowners should refer to the current British Columbia Building Code 2024 when planning permitted construction and consult the appropriate building professional or authority having jurisdiction.
Acoustic drywall assemblies
For basement suites, bedrooms and other areas where sound transmission is a concern, drywall can be combined with insulation, resilient channels or clips, and other acoustic-control measures.
The individual materials matter, but the entire wall or ceiling assembly determines how effectively sound is controlled.
4. Planning the Drywall Layout
Good drywall installation starts with planning.
We consider the location of joints, corners, openings and transitions before fastening the boards.
Where practical, joints are positioned and staggered to create strong, consistent surfaces and to avoid unnecessary concentrations of joints around doors and windows.
Careful layout also helps reduce waste and makes the subsequent taping and finishing process more efficient.
For ceilings in particular, board placement and fastening need to account for the framing layout and the size and orientation of the sheets.
The goal is not simply to cover the framing. It is to create a stable surface that can be finished cleanly.
5. Installing and Fastening the Drywall
Once the layout has been established, the drywall is cut and installed.
Fasteners are positioned according to the applicable installation requirements and the framing conditions. Boards need to be supported properly, with attention paid to edges, corners, openings and transitions.
Where appropriate, drywall adhesive may also be used as part of the installation system.
Correct fastening helps minimize movement and reduces the likelihood of problems such as loose boards, visible fasteners or future surface imperfections.
This stage is physically demanding, particularly when installing large sheets on ceilings, but it also requires precision.
A board that is slightly misaligned can create additional work during taping and finishing.
6. Taping and Finishing Drywall Joints
Once the boards are installed, the visible joints and fasteners need to be finished.
This is where much of the final appearance of a drywall project is determined.
Embedding joint tape
Paper tape is commonly used for drywall joints because it provides a strong, consistent joint when properly embedded in joint compound.
The tape is embedded into the compound and then covered with additional coats as the joint is built out.
Finishing inside corners
Inside corners require careful application and feathering to produce a clean transition between surfaces.
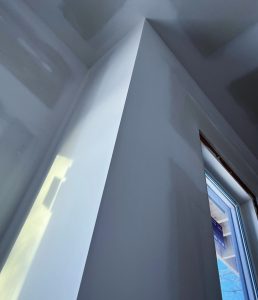
Installing outside corner bead
Outside corners are particularly vulnerable to impact.
Corner bead provides a durable, straight edge that can then be finished with joint compound.
The bead needs to be installed and finished consistently so that the corner remains straight after sanding and painting.
7. Progressive Coats Create a Smooth Finished Surface
Professional drywall finishing is not achieved with one thick coat of mud.
Instead, joint compound is normally applied in progressively wider coats.
The first coat establishes the joint and embeds the tape. Subsequent coats build and smooth the transition between the joint and the surrounding drywall.
As the joint becomes wider and flatter, the visible transition becomes less noticeable.
This process requires patience because the compound needs appropriate drying time between coats.
Rushing the process can lead to additional shrinkage, sanding problems and visible imperfections.
8. Level 4 vs. Level 5 Drywall Finish
One of the most common questions homeowners have is whether they need a Level 4 or Level 5 drywall finish.
Level 4 drywall finish
Level 4 is a common finish level for residential walls and ceilings.
It involves multiple coats of joint compound over joints and fasteners, followed by sanding and preparation for primer and paint.
For many homes, this provides an excellent finished surface when combined with appropriate paint and lighting.
Level 5 drywall finish
Level 5 adds an additional skim coat over the entire surface.
This can help minimize variations in texture and sheen, particularly under demanding lighting conditions.
A Level 5 finish may be worth considering for:
Large areas with strong natural light
High-end renovations
Large open walls
Dark or glossy paint colours
Feature walls
Areas where surface uniformity is especially important
Not every room needs a Level 5 finish. We can help determine the appropriate finish based on the room, lighting and final paint selection.
9. Sanding and Dust Control
Sanding is where the finished wall begins to reveal whether the earlier stages were done correctly.
The objective is to blend the joint compound smoothly into the surrounding drywall without damaging the paper surface.
During the finishing process, we inspect walls and ceilings from different angles and under different lighting conditions. Strong angled or “raking” light can reveal ridges, depressions and other imperfections that may be difficult to see under normal lighting.
Where practical, we use dust-extraction equipment during sanding to reduce airborne drywall dust and keep the work area cleaner.
Dust control is particularly valuable when working inside occupied homes.
10. Priming New Drywall
New drywall should be properly primed before the final paint coats are applied.
Raw drywall paper and joint compound absorb paint differently. Painting directly over a mixture of bare drywall and finished joints can therefore produce uneven sheen and colour, sometimes referred to as flashing.
A suitable drywall primer helps equalize the porosity of the surface and provides a more consistent foundation for the finish coats.
At Finest Finish Painting and Drywall, we can continue directly from drywall finishing into priming and interior painting, allowing the entire preparation process to be handled as one project.
How Long Does Drywall Installation Take?
The timeline depends on the size and complexity of the project, the amount of preparation required and drying conditions.
For example, a standard 1,000-square-foot basement suite may require approximately one to two days for board installation, followed by several days for taping, multiple coats of joint compound, drying, sanding and priming.
A complete project can therefore take roughly one to two weeks depending on the scope and conditions, rather than simply the number of hours required to hang the drywall.
Factors that can affect the schedule include:
Number of rooms
Ceiling height
Number of corners and openings
Existing framing conditions
Amount of drywall removal
Drying conditions
Level of finish required
Special fire or acoustic assemblies
Access to the property
Whether painting is included
For an accurate schedule, an on-site assessment is preferable to relying on a generic square-foot estimate.
What Affects the Cost of Drywall Installation in Saanich?
There is no single price for drywall installation because every renovation is different.
The total cost can be affected by:
Total wall and ceiling area
Ceiling height
Number of rooms
Condition of existing framing
New construction versus renovation
Removal and disposal of existing drywall
Type of drywall required
Fire-rated or acoustic assemblies
Number of corners and architectural details
Level 4 versus Level 5 finish
Amount of sanding required
Site access and protection
Priming and painting requirements
A smaller project with difficult access or extensive finishing can require more labour than a larger, straightforward installation.
For that reason, we recommend an on-site assessment before providing a detailed project quote.
Drywall Installation for Gordon Head Basement Suites
Basement suites and rental units have become an important renovation consideration for many Saanich homeowners.
A basement suite may require additional attention to:
Fire separation
Sound control
Moisture management
Insulation
Ceiling assemblies
Electrical and plumbing penetrations
Building requirements
Durable finishing
The Province of British Columbia’s secondary-suite guidance explains that secondary suites have specific requirements relating to fire separation, ceiling heights and other life-safety considerations.
For sound control, an effective assembly may combine acoustic insulation with resilient channels or clips and appropriately selected drywall.
Simply adding a heavier sheet of drywall does not necessarily solve every sound problem. The performance depends on how the entire wall or ceiling assembly is constructed.
If you are planning a secondary suite or basement renovation, drywall should be considered as part of the overall assembly rather than as an isolated finishing material.
Can Damaged Drywall Be Repaired Instead of Replaced?
In many cases, yes.
Localized water damage, holes, cracks and impact damage can sometimes be repaired without replacing the entire wall.
For larger or more involved repairs, see our drywall repair and painting services in Victoria to learn more about the repair process and when replacement may be necessary.
Depending on the condition, the repair process may involve:
Removing the damaged section
Addressing the source of the damage
Inspecting the surrounding area
Installing a properly supported patch
Applying joint tape and compound
Feathering the repair into the existing wall
Sanding and priming
Matching the surrounding finish as closely as practical
Water-damaged drywall should not simply be covered up. The source of the moisture needs to be addressed first, and severely compromised material may need to be removed and replaced.
For smaller repairs, professional finishing can make the difference between a patch that remains visible and one that blends naturally into the existing wall.
DIY Drywall vs. Professional Installation
Drywall can look deceptively simple.
Installing the sheets is only one part of the job. The more difficult part for many homeowners is achieving consistent joints, corners and surfaces that remain invisible after primer and paint.
Professional drywall installation can be particularly worthwhile when:
Ceilings are involved
There are many rooms or large open walls
The framing requires correction
A high-quality Level 4 or Level 5 finish is desired
There are extensive corners and architectural details
Dust control is important
The home remains occupied during construction
Fire-rated or acoustic assemblies are required
The project needs to move efficiently toward painting
Poor drywall finishing can become much more noticeable after paint is applied, particularly under strong natural or artificial lighting.
Frequently Asked Questions About Drywall Installation
What is the difference between drywall installation and drywall finishing?
Drywall installation generally refers to measuring, cutting and fastening the drywall sheets to the framing. Drywall finishing includes taping the joints, applying joint compound, finishing corners, sanding and preparing the surface for primer and paint.
How long does drywall installation take for a basement suite?
The exact schedule depends on the size and complexity of the suite. A typical 1,000-square-foot project may take several days to more than a week once board installation, multiple finishing coats, drying, sanding and priming are included.
What type of drywall is best for a bathroom?
The appropriate material depends on the location and application. Moisture-resistant gypsum products can be suitable for some bathroom areas, while shower and wet-zone installations may require a purpose-designed backer system. The correct choice should be based on the specific installation rather than simply choosing “green board” for every bathroom.
Is Level 5 drywall finish worth it?
A Level 5 finish can be worthwhile where lighting conditions are demanding or a particularly uniform appearance is desired. It is not necessary for every residential room, so we recommend choosing the finish level based on the room, lighting and paint finish.
Can you repair drywall after water damage?
Yes, localized damage can often be repaired. However, the source of the moisture needs to be corrected first. Material that is extensively damaged may need to be removed and replaced.
Can drywall help soundproof a basement suite?
Drywall is one component of an acoustic assembly. Effective sound control may also involve insulation, resilient channels or clips, appropriate framing and sealing of penetrations. The complete assembly is more important than any single product.
Do you paint after installing drywall?
Yes. Finest Finish Painting and Drywall provides drywall preparation and interior painting, allowing the project to move from unfinished board through finishing, priming and final paint without having to coordinate separate contractors.
Professional Drywall Installation in Gordon Head and Saanich
Whether you’re renovating an established Gordon Head home, finishing a basement, preparing a secondary suite or completing a larger home addition, professional drywall installation provides the foundation for a high-quality finished interior.
At Finest Finish Painting and Drywall, we handle the process from preparation and board installation through taping, finishing, sanding and priming. When painting is part of the project, our team can continue directly into the final interior coatings.
If you’re planning drywall installation, drywall finishing or drywall repair in Gordon Head, Mount Tolmie, Saanich or the surrounding Victoria area, contact Finest Finish Painting and Drywall to arrange an on-site consultation and detailed project quote.
For a more detailed overview of the company’s approach, you can also explore the drywall installation and finishing services in Victoria.