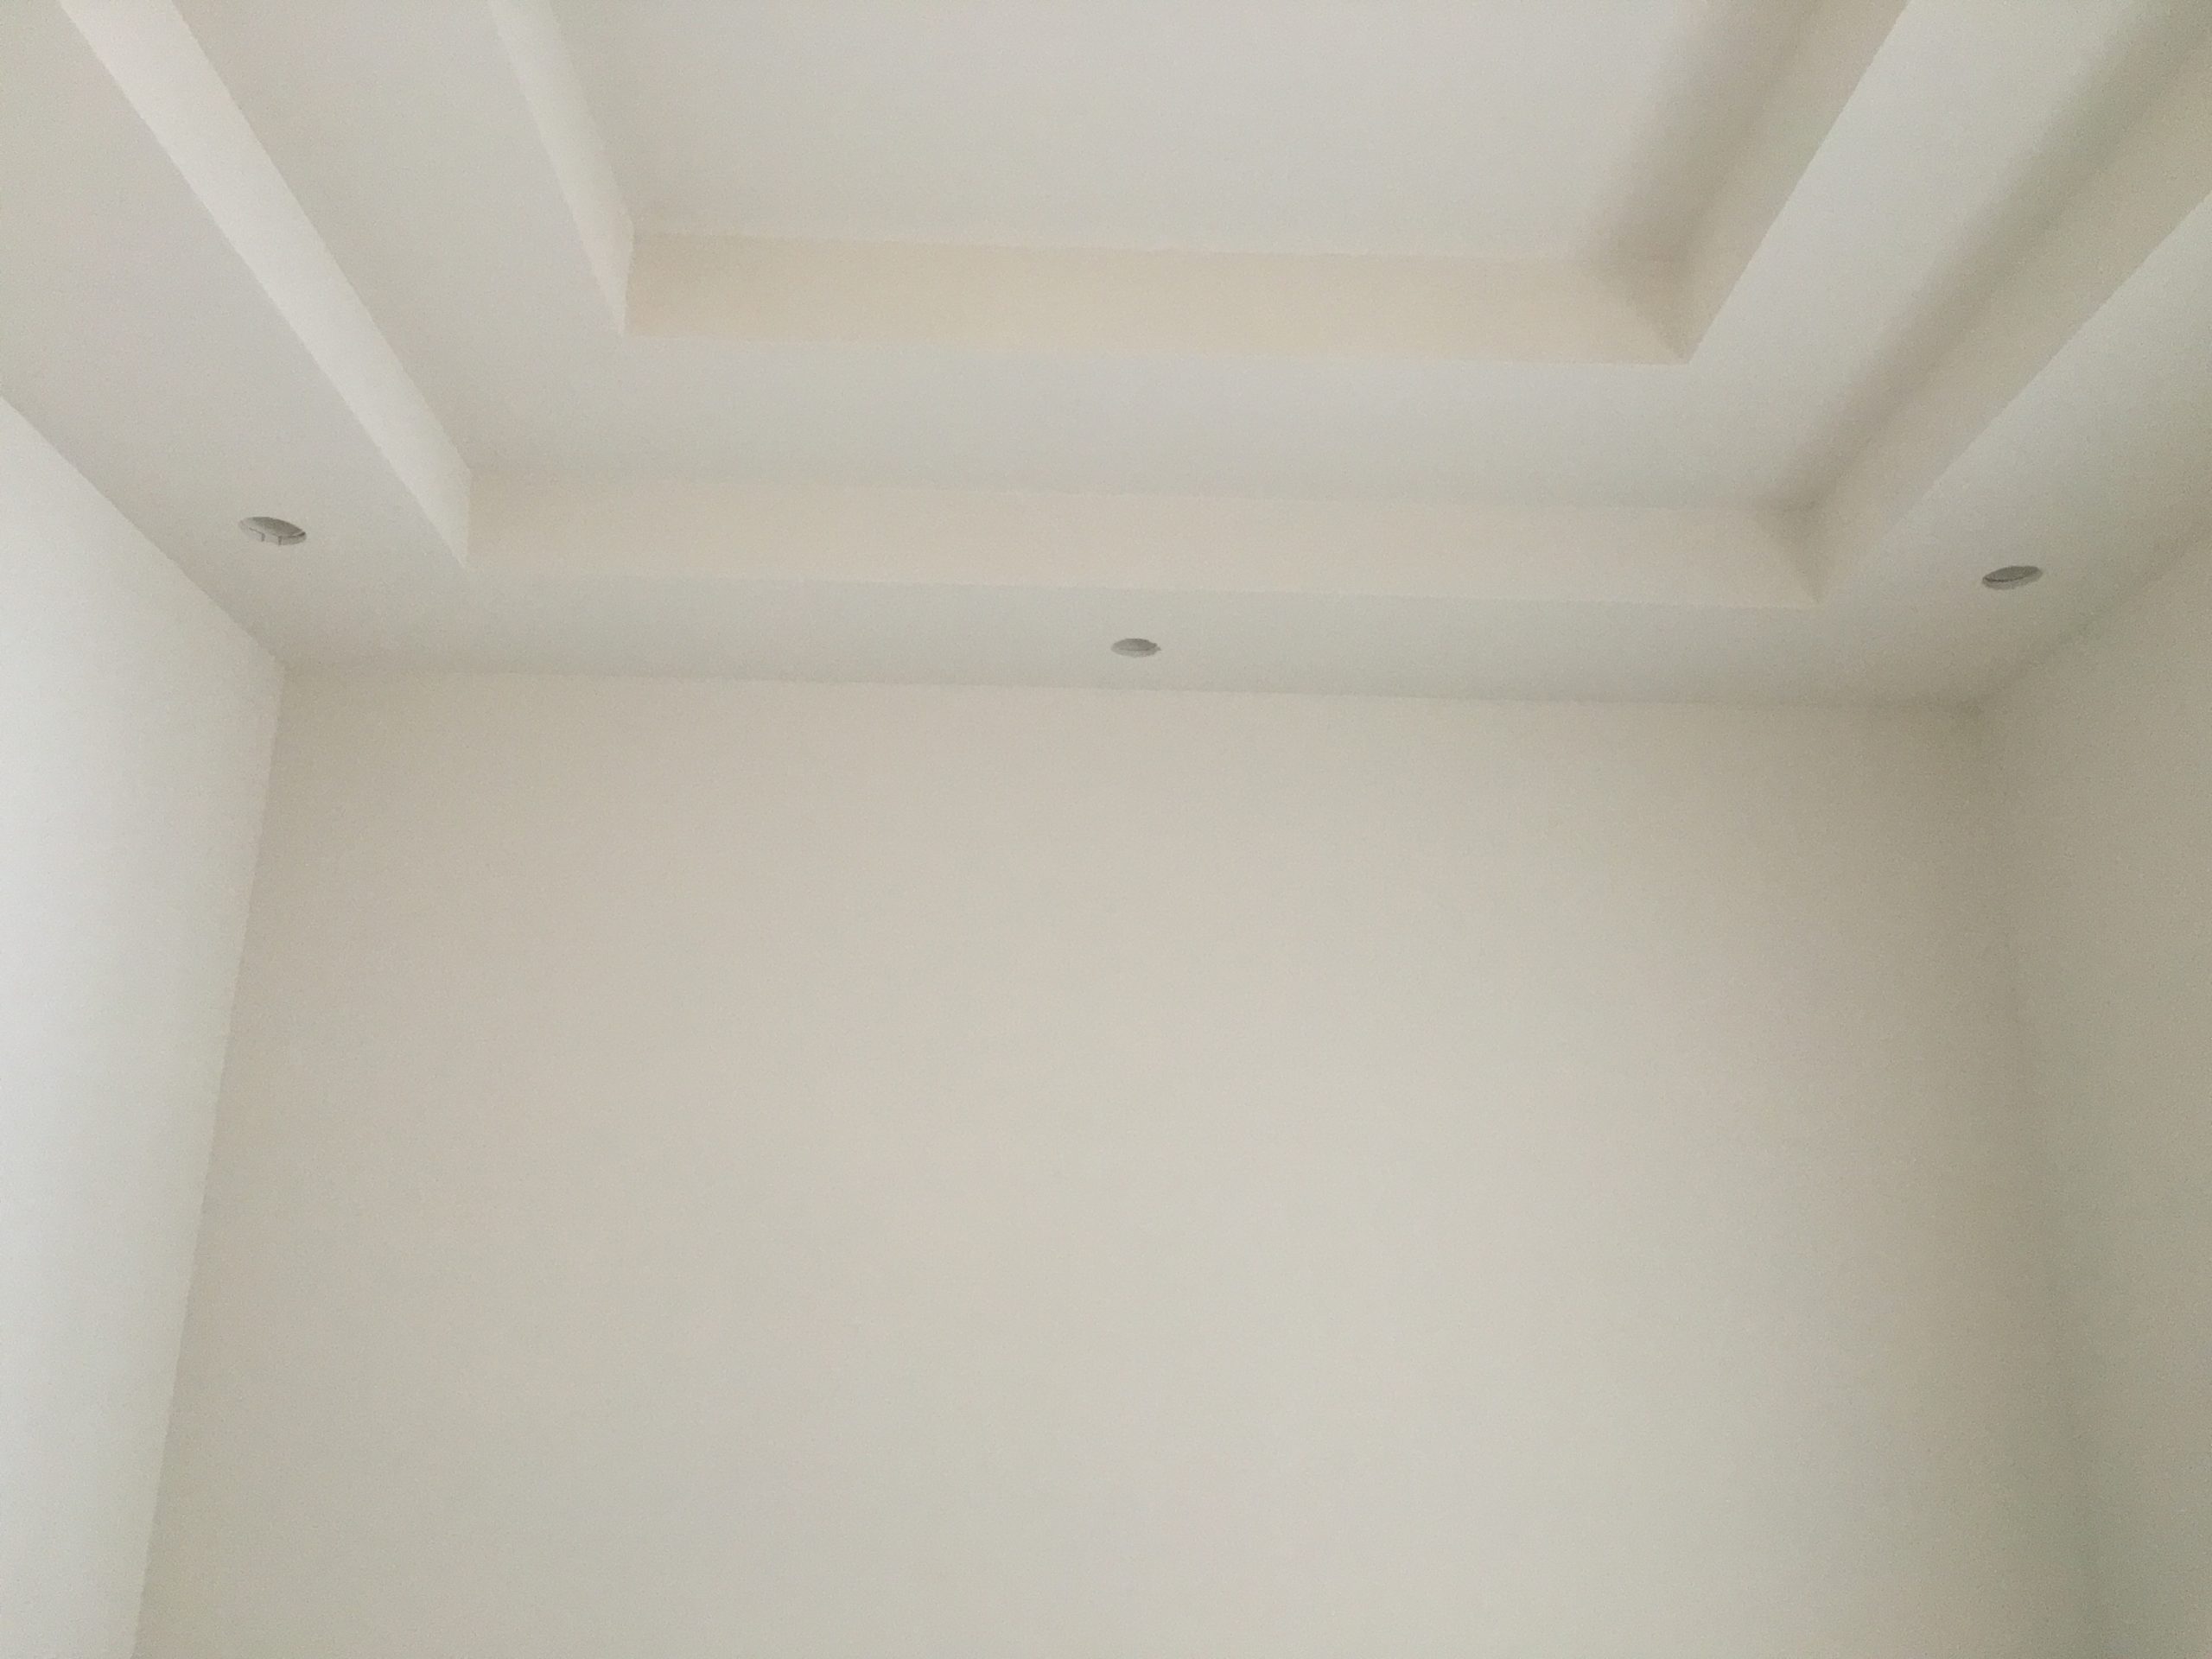
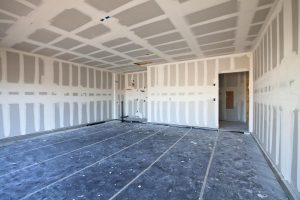
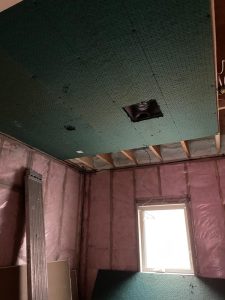
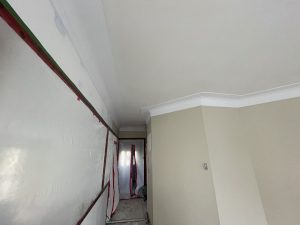
Drywall installation is a foundational step in the construction and renovation of residential and commercial buildings. Also known as gypsum board or plasterboard, drywall serves as the primary material for creating interior walls and ceilings. It is a versatile material that provides a smooth, paintable surface, plays a crucial role in defining the appearance and structure of a room, and contributes to the overall aesthetics and functionality of a space. In this comprehensive guide, we will delve into the step-by-step process of drywall installation, from the initial planning stages to the final touches.
1. Preparation:
The drywall installation process begins with careful planning and the gathering of essential tools and materials. Proper preparation is key to ensuring a successful and efficient installation.
Measure and Plan:
- Start by measuring the area where you intend to install drywall. Accurate measurements are essential for determining the quantity and dimensions of drywall sheets you will need.
- Plan the layout of the drywall sheets, considering factors such as the placement of doors, windows, electrical outlets, and fixtures. The objective is to minimize seams and waste. It’s important to maintain symmetry and a consistent pattern, especially in rooms with high visibility.
Gather Materials:
- To proceed with drywall installation, you will need the following materials and tools:
- Drywall sheets: Available in various thicknesses and sizes, choose the appropriate type of drywall for your project, considering factors like fire resistance and sound insulation.
- Drywall screws: Typically 1-1/4″ or 1-5/8″ in length, these screws will be used to attach the drywall to the framing.
- Joint compound (mud): This is a crucial component for sealing and finishing the seams and screw dimples. It’s available in pre-mixed or powdered forms.
- Drywall tape: Used to reinforce seams and create a smooth, seamless surface.
- Corner beads: Metal or plastic corner beads are used to protect and reinforce outside corners.
- Sandpaper or a sanding block: For smoothing the drywall compound.
- Sanding screen or sanding mesh: These abrasive materials are effective for achieving a smooth, even finish.
- Drywall primer: Necessary to prepare the surface for paint or wall finish.
- Paint or wall finish: Your choice of finish will define the final appearance of the walls or ceilings.
- Safety glasses and a dust mask: Essential for personal safety, as drywall work can produce dust and debris.
- To proceed with drywall installation, you will need the following materials and tools:
2. Cutting Drywall:
After the planning and material gathering phase, it’s time to start with the physical installation. Cutting drywall sheets to the required dimensions is the first step.
Use Accurate Measurements:
- Measure and mark the drywall sheets according to your project’s specific requirements. To ensure precision, use a tape measure and a straight edge or T-square.
- Careful measurement and marking are crucial for creating a finished surface that aligns perfectly with your room’s layout.
Cutting Drywall Sheets:
- To cut drywall sheets, use a utility knife or a drywall saw. Score the front paper of the drywall along the marked lines, and then gently snap the sheet along the scored line. After snapping the front paper, cut through the back paper.
- It’s essential to maintain straight, clean cuts to facilitate easy installation and create a professional-looking finish.
3. Installation:
With the drywall sheets cut to the desired dimensions, it’s time to begin attaching them to the framing, whether it’s wall studs or ceiling joists. This phase is where you’ll see your project start to take shape.
Starting Point:
- Begin installing drywall sheets from one corner or along an edge. The choice of starting point depends on the specific project. For ceiling installations, starting in a corner is often the most practical approach.
Aligning with Framing:
- Position the drywall sheet against the framing. Ensure that the factory edges (the untapered sides) align with the framing for a snug fit.
- It’s important to check for proper alignment, as this will affect the overall stability of the drywall once it’s in place.
Securing with Drywall Screws:
- Secure the drywall to the framing using drywall screws. These screws should be approximately 1-1/4″ to 1-5/8″ in length, depending on the thickness of the drywall and the framing material.
- Space the screws about 12 inches apart along the framing members. To achieve a secure hold, make sure the screws are slightly countersunk but not overtightened, as over-tightening can damage the drywall paper and affect the structural integrity.
Continuing the Installation:
- After the first sheet is securely in place, continue installing subsequent sheets, butting their edges tightly together.
- Stagger the seams in a brick-like pattern, alternating the starting point of each row of drywall sheets. Staggering the seams enhances structural stability and minimizes the risk of cracks or visible seams in the finished surface.
4. Cutting Openings:
As you progress with the drywall installation, you’ll encounter the need to accommodate openings for electrical outlets, switches, doors, windows, and other fixtures.
Measure and Mark Openings:
- Carefully measure and mark the locations for openings. Be precise in marking the dimensions and positions of these openings, as accuracy is critical to a professional-looking installation.
- Use a pencil or a marker to create clear, visible lines that will guide your cuts.
Cutting Out Openings:
- To create openings for fixtures, use a keyhole saw or a jigsaw. These tools are suitable for making precise, controlled cuts.
- Ensure that your cuts are clean and accurate, and take care not to over-cut or damage surrounding drywall.
Install Outlet and Switch Boxes:
- For electrical outlets and switches, it’s important to install outlet and switch boxes before attaching the drywall around them. Boxes should be flush with the finished surface to allow for proper cover plate installation.
Drywall seams and screw dimples need to be covered and finished to create a smooth, seamless surface. This process involves using joint compound (often referred to as “mud”) and drywall tape.
Applying Joint Compound:
- Start by applying a layer of joint compound over the seams and screw dimples. Use a putty knife or a drywall knife for this purpose.
- Ensure that the layer of joint compound is evenly applied, covering the entire length of the seam. It’s important to create a uniform layer of mud.
Embedding Drywall Tape:
- Immediately after applying the joint compound, embed drywall tape into the wet compound along the seams. The tape provides reinforcement and prevents cracks or separation along the seams.
- Press the tape firmly into the mud, ensuring it lies flat along the seam and adheres securely.
Feathering the Edges:
- After embedding the tape, apply a thin layer of joint compound over the tape. Feather the edges of the mud to create a smooth transition from the taped area to the surrounding drywall.
- Feathering is essential for achieving a seamless finish, where the seams are nearly invisible.
Allowing for Drying:
- Let the first coat of joint compound dry. The drying time will depend on environmental conditions but typically takes 24 hours.
- Once the first coat is dry, you can proceed to the next step.
Repeat the Process:
- For a professional finish, it’s common to apply 2-3 coats of joint compound. After the first coat is dry, repeat the process of applying mud, embedding tape, and feathering the edges.
- Between each coat, sand the drywall compound to smooth out imperfections and create a level surface.
6. Corner Bead:
For outside corners, it’s essential to install corner beads to protect and reinforce these vulnerable areas.
Selecting Corner Beads:
- Choose the appropriate type of corner bead, which can be made of metal or plastic. Metal corner beads are more durable and often preferred for long-term protection.
Installation:
- Install the corner bead on the outside corners of the walls or ceilings. These corner beads will serve as a protective barrier against damage and provide a clean, straight edge.
- Apply joint compound over the corner bead and feather the edges, ensuring a seamless transition between the bead and the adjacent drywall.
7. Sanding and Finishing:
After applying joint compound and letting it dry, the next step is to prepare the surface for paint or other wall finishes. Achieving a smooth, flawless surface is crucial for a professional result.
Sanding the Drywall Compound:
- Use sandpaper or a sanding block to sand the drywall compound. The goal is to smooth out any imperfections, ridges, or uneven areas.
- Be patient and thorough during the sanding process. Smooth, even walls are the foundation of a professional-looking finish.
Removing Dust:
- Sanding generates a significant amount of dust. It’s important to remove this dust from the surface and the surrounding area.
- Use a vacuum or a damp cloth to wipe down the walls and ceilings to ensure a clean, dust-free surface.
Touching Up Imperfections:
- Inspect the sanded surface for any remaining imperfections or irregularities. If necessary, apply additional coats of mud to smooth out problem areas and create a uniform surface.
8. Priming and Painting:
With the drywall surface now smooth and ready for finishing, it’s time to apply primer and paint or your chosen wall finish.
Priming:
- Before applying paint or any wall finish, it’s crucial to prime the drywall surface. Primer helps the paint adhere properly and provides a consistent base color.
- Apply primer evenly and allow it to dry according to the manufacturer’s recommendations.
Painting or Wall Finish:
- After priming, apply your choice of paint or wall finish. The specific technique and number of coats will depend on the desired finish and the type of paint used.
- Allow adequate drying time between coats, and follow the manufacturer’s instructions for best results.
9. Cleanup:
As the drywall installation and finishing process nears completion, it’s important to clean up the workspace and dispose of waste materials properly.
Clean the Workspace:
- Remove any debris, tools, and equipment from the area. Clean the floor and surrounding surfaces to ensure a safe and tidy environment.
Dispose of Waste:
- Dispose of waste materials, including cut-off pieces of drywall, screws, and any other construction debris, in accordance with local regulations and environmental guidelines.
Final Inspection:
- Conduct a final inspection of the drywall installation and finishing to ensure that the surface is smooth, seamless, and free of imperfections. Address any last-minute touch-ups or corrections as needed.
In conclusion, drywall installation is a fundamental aspect of interior construction and renovation projects. By following a structured and precise process, you can achieve professional results that provide a visually appealing and structurally sound foundation for any room. Whether you are a DIY enthusiast or a professional contractor, mastering the art of drywall installation is a valuable skill for any construction or renovation project. Remember to prioritize safety, precision, and attention to detail, as these factors are key to a successful and aesthetically pleasing outcome. Drywall installation is not only about building walls and ceilings but also about creating the backdrop for the interior design and functionality of a space, making it an integral part of any construction or remodeling project.

