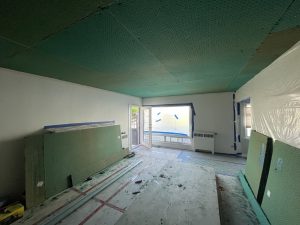
Hanging drywall on ceilings is a task that requires precision, planning, and patience. Whether you’re embarking on a DIY project or looking to enhance your skills as a professional, mastering the art of ceiling drywall installation is crucial. In this comprehensive guide, we will explore a range of tips and techniques to ensure a successful and professional-looking finish. From safety precautions to finishing touches, each step plays a pivotal role in the overall outcome of your drywall installation project.
I. Safety First:
Before delving into the intricacies of hanging drywall, it is imperative to prioritize safety. DIY enthusiasts and professionals alike must equip themselves with the necessary safety gear, including safety glasses, a dust mask, and hearing protection. Ceilings often require working at heights, so investing in a sturdy scaffold or ladder is essential for a secure work environment.
II. Planning and Measurement:
Successful drywall installation begins with careful planning and accurate measurements. Take the time to measure the ceiling area meticulously, considering layout options that minimize seams and cuts. Utilizing a chalk line to mark reference lines on the ceiling ensures a straight and level installation. Proper planning not only enhances the visual appeal of the finished project but also simplifies the installation process.
III. Choosing the Right Drywall Thickness:
Selecting the appropriate thickness of drywall for the ceiling is a crucial decision. Thicker drywall can help prevent sagging and ensures a more durable finish. Lightweight drywall is also an option, making handling and installation more manageable. Understanding the advantages and limitations of different drywall thicknesses is essential for achieving optimal results.
IV. Teamwork:
Ceiling installations often necessitate an extra pair of hands. Enlisting a helper to assist with holding the drywall in place while securing it can significantly ease the process. For larger projects, consider using a drywall lift or T-bar clamp to provide additional support. Effective teamwork not only enhances efficiency but also contributes to a smoother and more accurate installation.
V. Starting in the Center:
Initiating the drywall installation from the center of the ceiling and working outward is a strategic approach. This method helps distribute any unevenness in the framing, contributing to a more balanced and stable ceiling structure. Staggering the seams between panels further strengthens the overall integrity of the ceiling, reducing the risk of cracks or sagging over time.
VI. Secure Adequately:
The choice of screws and their proper installation is paramount for a successful drywall installation. Utilize screws specifically designed for drywall projects, ensuring they are long enough to penetrate the framing without damaging the surface. Follow a consistent spacing pattern, approximately every 12 inches along the edges and every 16 inches in the field. Adequate and uniform screw placement is critical for the stability and longevity of the installation.
VII. Preventing Sagging:
Preventing sagging in ceiling drywall is a proactive measure that requires attention throughout the installation process. Using a panel lift or T-bar clamp to support the drywall during installation minimizes stress on the panels and reduces the likelihood of sagging. Regularly check for any signs of sagging during and after installation, addressing the issue promptly to avoid compromising the integrity of the finished ceiling.
VIII. Cutting Around Obstacles:
Ceiling installations often involve navigating around obstacles such as electrical boxes, light fixtures, and ventilation openings. Precise measurements and markings before lifting the drywall into place are crucial for achieving a seamless fit. Utilize tools like a drywall saw or rotary tool to make accurate cuts, ensuring a professional-looking installation around obstacles.
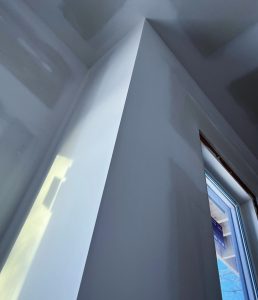
IX. Taping and Mudding:
The success of a ceiling drywall installation is significantly influenced by the meticulous application of tape and joint compound. Pay close attention to embedding the tape properly and applying joint compound smoothly. These steps are crucial for achieving seamless seams and a uniform surface. Choosing lightweight joint compound can reduce the overall weight on the ceiling, particularly beneficial for larger projects.
X. Sanding:
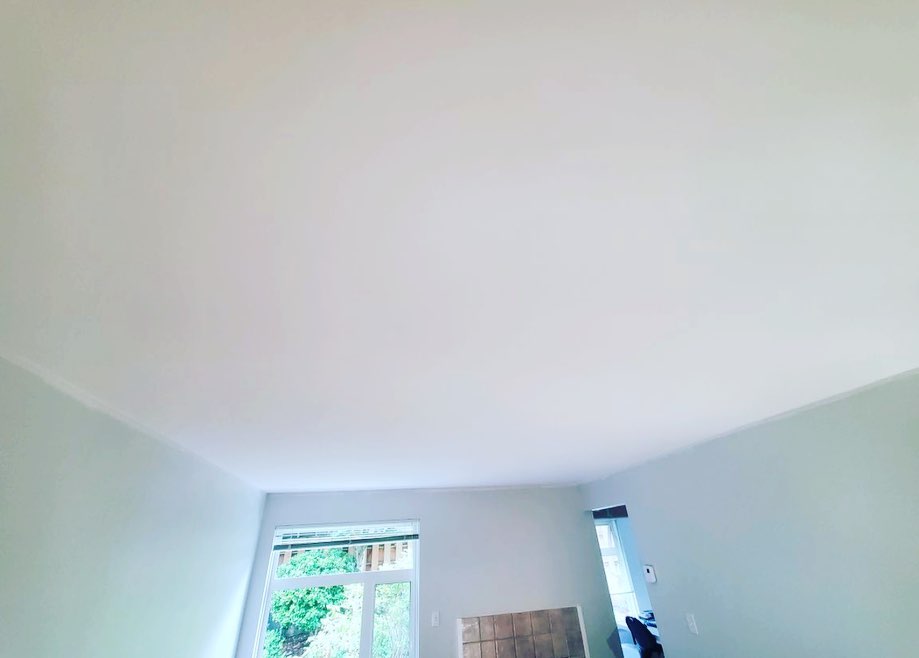
Once the joint compound is dry, sanding becomes a crucial step in achieving a smooth and professional finish. Carefully sand the joints and seams, using a sanding pole for higher ceilings. This step is instrumental in preparing the surface for painting and ensures a flawless appearance.
XI. Primer Before Painting:
Before applying the final coat of paint, it is advisable to prime the drywall surface. Primer enhances paint adhesion, ensures an even finish, and provides a base for the chosen paint color. Allow the primer to dry completely before proceeding with the final painting, contributing to the longevity and aesthetic appeal of the finished ceiling.
XII. Check for Level:
Checking for level is a fundamental step that should not be overlooked. Use a level to ensure that the installed drywall is even and level across the entire ceiling. Address any deviations promptly before proceeding to the mudding and taping stages, as an uneven surface can compromise the overall quality of the finished project.
Conclusion:
Mastering the art of hanging drywall on ceilings is a multifaceted process that demands a combination of skill, knowledge, and attention to detail. By adhering to safety protocols, meticulous planning, and utilizing the right techniques, DIY enthusiasts and professionals can achieve a flawless and professional-looking finish. From the initial measurements to the final coat of paint, each step contributes to the overall success of the project. With this comprehensive guide, individuals can approach ceiling drywall installation with confidence, transforming spaces with precision and expertise.